How to Shoot and Edit Food Videos Using KineMaster: A Comprehensive Guide
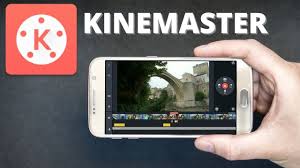
Food videos have exploded in popularity across social media platforms. From simple street food to elaborate restaurant dishes, culinary creations have found a captivating new medium in video format. These videos are not just about sharing recipes and cooking skills; they are a form of entertainment, engaging millions of viewers worldwide. If you’re passionate about food and eager to create your own captivating food videos, KineMaster is a powerful yet user-friendly mobile video editing application that can help turn your culinary visions into reality.
Toc
- 1. 1. Pre-Production: Laying the Foundation for Success
- 2. Related articles 01:
- 3. 2. Filming Your Food: Capturing Culinary Magic
- 4. 3. Editing with KineMaster: Polishing Your Culinary Story
- 5. Related articles 02:
- 6. 4. Exporting and Sharing Your Culinary Creation
- 7. Helpful Tips and Tricks for Food Video Success
- 8. Conclusion: Unleash Your Culinary Creativity
This article will guide you step-by-step on how to create professional and engaging food videos using KineMaster, from pre-production and filming to editing and publishing.
1. Pre-Production: Laying the Foundation for Success

Before you even press record, meticulous preparation is crucial to ensure a smooth and efficient production process.
-
Brainstorming Ideas and Scripting:
- Dish Selection: Decide on the dish you want to feature. Choose recipes you are confident in and that resonate with your target audience. Visually appealing dishes with vibrant colors and interesting cooking processes tend to perform well.
- Script Development: Outline a detailed script for your video. This script should encompass the different shots, camera angles, any voiceover or on-screen text, and the estimated duration for each segment. A well-structured script will save you time during filming and ensure your video has a logical and easy-to-follow flow.
- Recipe Preparation: Write out your recipe clearly and comprehensively. This will be invaluable during filming, allowing you to easily follow the steps and provide accurate information to your viewers.
-
Setting Up Your Filming Space:
- Location Scouting: Select a filming location that is well-lit, clean, and uncluttered. The kitchen is a natural choice, but any space with ample natural light and minimal distractions will work.
- Background Arrangement: Opt for a simple, uncluttered background to keep the focus on your food. Wooden countertops, tablecloths, or a plain white wall make excellent backdrops. Avoid busy patterns or distracting elements.
- Prop Preparation: Gather all necessary cooking utensils, dishes, and decorative items. Ensure they are clean and neatly arranged within your filming area. Consider props that enhance the visual appeal of your food, such as fresh herbs, colorful spices, or textured fabrics.
-
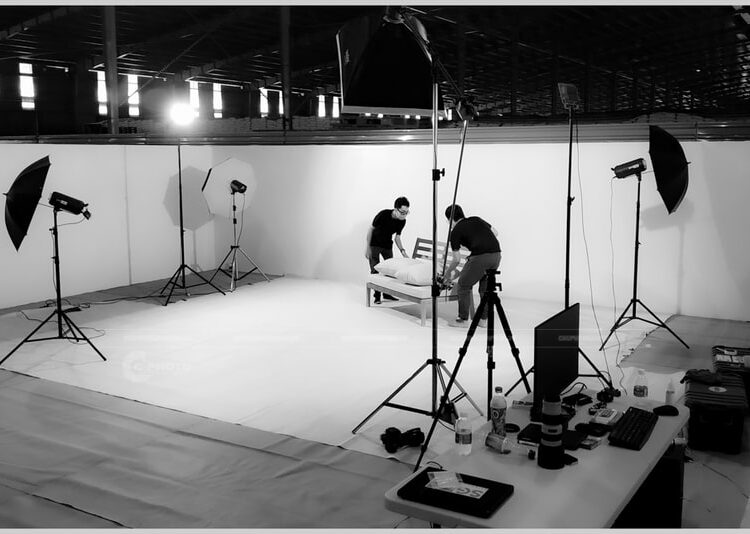
Lighting and Sound Considerations:
- Lighting: Lighting is paramount in food videography. Natural light is ideal, so maximize light from windows or balconies. If natural light is insufficient, supplement with artificial lighting. Softbox lights or ring lights are popular choices for food videos, providing even and flattering illumination without harsh shadows. Aim for consistent lighting throughout your shoot.
- Sound: Clear audio enhances the professionalism of your video. If you plan to include voiceover, use an external microphone or ensure your filming environment is quiet. Alternatively, you can use appropriate background music to add dynamism to your video. Choose royalty-free music or tracks that complement the mood of your food video.
-
Filming Equipment Essentials:
- Smartphone: Modern smartphones boast high-quality cameras, perfectly capable of capturing stunning food videos. Ensure your phone is sufficiently charged and has ample storage space. Clean your camera lens before each filming session.
- Tripod: A tripod is essential for stabilizing your phone, preventing shaky footage, and achieving professional-looking, steady shots. Invest in a sturdy tripod that can hold your phone securely.
- External Microphone (Optional): For superior voiceover quality, consider using an external microphone. Lavalier mics or shotgun mics are popular options for clear and crisp audio.
-
Ingredient and Food Preparation:
1. https://kinemasterap.org/kinemaster-unleashing-your-inner-filmmaker-on-mobile
2. https://kinemasterap.org/kinemaster-pro-the-ultimate-tool-for-content-creators
3. https://kinemasterap.org/old-versions-kinemaster-mod-apk
5. https://kinemasterap.org/3-of-the-easiest-video-editing-apps-including-kinemaster
- Ingredient Mise en Place: Measure and prepare all necessary ingredients according to your recipe. This “mise en place” approach streamlines the filming process and prevents interruptions.
- Ingredient Pre-processing: Pre-process ingredients like washing vegetables, chopping meat, and mincing garlic to save valuable filming time.
- Fresh and Appealing Ingredients: Use fresh, high-quality ingredients with vibrant colors to make your food look its best on video. Visually appealing ingredients translate to more enticing videos.
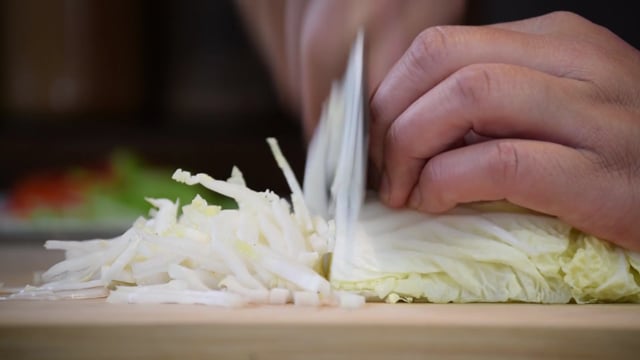
2. Filming Your Food: Capturing Culinary Magic
![]()
With all preparations complete, you’re ready to start filming. Here are some fundamental food videography techniques to employ:
-
Camera Angles: Framing Your Story
- Wide Shot (Establishing Shot): Use wide shots to introduce the kitchen space, ingredients, and cooking tools. This angle sets the scene and provides context.
- Medium Shot: Focus on the cook and their hands as they perform cooking actions. Medium shots are excellent for showing the process without getting too close or too far.
- Close-Up Shot: Capture detailed shots of specific cooking steps like chopping, mixing, stirring, and especially the finished dish. Close-ups highlight textures, colors, and visual appeal.
- Overhead Shot (Top-Down Shot): This angle is incredibly popular in food videos, providing viewers with a clear, bird’s-eye view of the entire cooking and plating process. Overhead shots are ideal for showcasing ingredient arrangements, cooking steps in pans, and final presentations.
-
Filming Techniques: Adding Visual Flair
- Slow Motion: Use slow motion to emphasize visually interesting moments like pouring liquids, stirring ingredients, or the final plating of the dish. Slow motion adds drama and visual interest.
- Time-Lapse: Employ time-lapse to condense lengthy processes like dough rising, baking, or simmering into short, engaging sequences. Time-lapse is perfect for showing transformations over time.
- Pacing and Transitions: Shoot short, varied shots with different angles and incorporate smooth transitions to maintain viewer engagement and prevent monotony. Varying shot lengths and angles keeps the video visually dynamic.
-
Natural Cooking Actions: Authenticity Matters
- Focus on the Process: Film the cooking process in a natural and authentic manner. Avoid overly staged or artificial actions. Let your passion for cooking shine through.
- Slow and Deliberate Actions: Perform cooking actions slowly and deliberately, ensuring viewers can clearly observe and follow each step. Clear and deliberate movements are easier to follow on video.
- Camera Interaction (Optional): Occasionally glance at the camera, smile, or offer brief explanations of the step you’re performing to create a personal connection with viewers. Direct camera interaction can enhance viewer engagement.
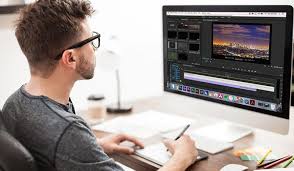
3. Editing with KineMaster: Polishing Your Culinary Story
Once filming is complete, the next crucial step is video editing using KineMaster. KineMaster offers a comprehensive suite of editing tools, enabling you to transform raw footage into a polished and engaging food video.
-
Importing and Cutting Footage:
- Project Creation: Open the KineMaster app and create a new project. Select the appropriate aspect ratio for your intended platform (e.g., 16:9 for YouTube, 9:16 for TikTok).
- Video Import: Import all your filmed video clips into the project.
- Video Trimming and Cutting: Utilize the trim tool to remove unwanted sections, mistakes, or unnecessary footage. Arrange the video clips in a logical sequence according to your script. Trim clips precisely to maintain a good pace.
-
Adding Transition Effects:
- Transition Selection: KineMaster provides a wide array of transition effects. Choose transitions that create smooth and professional transitions between shots.
- Judicious Use of Transitions: Avoid overusing transitions. Employ them subtly to enhance visual flow and avoid distracting viewers. Simple transitions like cuts, fades, and dissolves are often most effective in food videos.
-
Color and Lighting Adjustments:
1. https://kinemasterap.org/mastering-creativity-the-kinemaster-5-experience
3. https://kinemasterap.org/old-versions-kinemaster-mod-apk
4. https://kinemasterap.org/revive-your-editing-experience-the-benefits-of-older-kinemaster-versions
5. https://kinemasterap.org/kinemaster-unlocking-professional-video-editing-on-your-mobile-device
- Brightness, Contrast, Saturation Adjustments: Use KineMaster’s color adjustment tools to fine-tune the colors and lighting of your video. Increase brightness and saturation to make food appear more vibrant and appetizing.
- Color Filters: Apply color filters to create a specific mood or visual style for your video. Experiment with different filters to find one that complements your food and aesthetic.
-
Adding Text and Titles:
- Text Overlays: Add text to display the dish name, ingredient names, step-by-step instructions, or other essential information. Choose legible fonts and colors that contrast well with the background. Keep text overlays concise and easy to read.
- Eye-Catching Titles: Create compelling and prominent titles at the beginning of your video to grab viewers’ attention. Use animated text effects or visually appealing fonts for titles.
-
Audio and Background Music Integration:
- Background Music: Add appropriate background music to set the mood and evoke emotions in your video. Select instrumental music or royalty-free tracks that complement the video’s tone.
- Sound Effects: Incorporate sound effects like sizzling sounds during frying, knife sounds during chopping, or boiling sounds to enhance realism and immersion.
- Voiceover Narration: If you want to provide detailed explanations of the recipe or cooking process, add a voiceover to your video. Ensure your voice is clear, engaging, and matches the video content.
-
Special Effects (Optional):
- Overlays: Add overlays such as images, stickers, or short video clips to decorate your video and add visual interest. Consider using ingredient icons or cooking-related graphics.
- Visual Effects: KineMaster offers basic visual effects like blurs, sharpening, and motion effects. Use them creatively to enhance visual appeal without overdoing it. Subtle effects are often more impactful.
4. Exporting and Sharing Your Culinary Creation
With editing complete, you’re ready to export your video and share your culinary masterpiece with the world.
Video Export:
-
- Resolution and Quality Selection: KineMaster allows you to export videos in various resolutions and qualities. Choose a resolution appropriate for your sharing platform (e.g., 1080p for YouTube, 720p for Instagram). Higher resolutions generally result in larger file sizes.
- Frame Rate: A frame rate of 30fps is suitable for food videos.
- Export Process: Tap the “Export” button and wait for the rendering process to finish. Export times will vary depending on video length and complexity.
Video Sharing Strategies:
- Platform Selection: Share your video on social media platforms like YouTube, TikTok, Instagram, and Facebook, depending on your target audience and video style.
- Compelling Descriptions: Write detailed video descriptions including the dish name, recipe link, ingredients, and other relevant information. Use relevant keywords to improve video discoverability.
- Thumbnail Design: Create an eye-catching and enticing thumbnail image to increase click-through rates to our video. A well-designed thumbnail is crucial for attracting viewers.
- Audience Engagement: Respond to comments and questions from your viewers and build a loyal audience community. Engage with your audience to foster interaction and build a following.
Helpful Tips and Tricks for Food Video Success
- Practice Makes Perfect: The more you practice, the more refined your filming and editing skills will become. Experiment with different techniques and styles.
- Study Successful Food Videos: Analyze popular and successful food videos to identify effective techniques and gain inspiration for your own style. Observe their shooting angles, editing styles, and overall presentation.
- Creativity and Innovation: Don’t be afraid to experiment with unique camera angles, filming techniques, and editing effects to create videos that are distinctive and memorable. Develop your own visual signature.
- Patience and Passion: Creating compelling food videos takes time and effort. Be patient with yourself, stay passionate about your craft, and enjoy the process. Success comes to those who persevere and continuously learn.
Conclusion: Unleash Your Culinary Creativity
With the power of KineMaster and the step-by-step guidance in this article, you are well-equipped to create high-quality, engaging food videos that captivate viewers. Start exploring the world of food videography today and share your culinary passion with the world! Happy filming and editing!