Illuminating Your Vision: A Guide to Effective Lighting for Video Clips
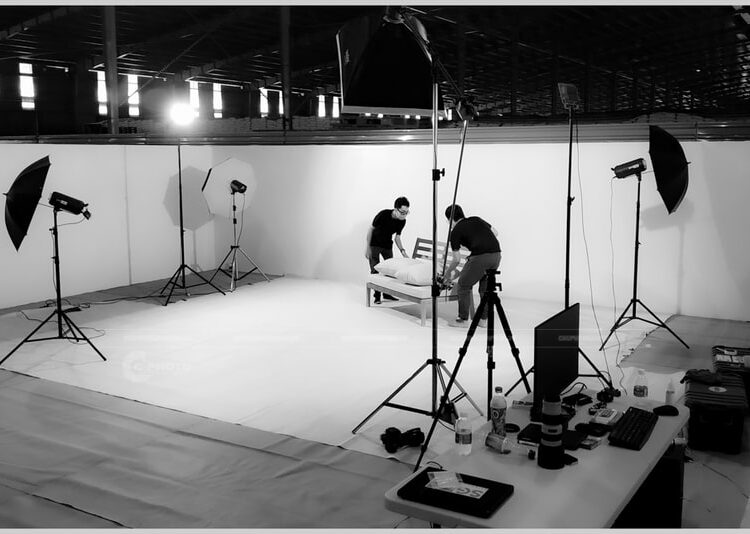
In the realm of video production, whether it’s a professional cinematic endeavor or a simple social media clip, lighting stands as a cornerstone of visual storytelling. More than just ensuring visibility, well-executed lighting can evoke mood, highlight key elements, create depth, and ultimately elevate the overall quality of your footage. Poor lighting, on the other hand, can distract viewers, make your subject appear unflattering, and undermine the message you’re trying to convey. This essay will delve into the essential aspects of setting up effective lighting for video clips, exploring the fundamental principles, different types of lights, common setups, and practical tips to help you illuminate your vision.
The power of light in video stems from its ability to shape and define the scene. Understanding the basic properties of light is crucial for any aspiring filmmaker or content creator. One of the primary considerations is the quality of light. Hard light, often emanating from direct, undiffused sources like the midday sun or a bare bulb, produces sharp, well-defined shadows. This can be useful for creating dramatic effects or emphasizing texture. Conversely, soft light, which has been scattered or diffused, casts gentle, less defined shadows. This type of light is generally more flattering for human subjects and creates a softer, more even illumination. Achieving soft light can be done by bouncing light off a surface, using diffusion panels, or employing softboxes.
Another fundamental aspect is color temperature, measured in Kelvin (K). This refers to the warmth or coolness of a light source. For video, consistency in color temperature is vital. Daylight is typically around 5600K, appearing cool and blueish, while tungsten light is closer to 3200K, appearing warm and yellowish. Mixing different color temperatures without proper adjustment can result in an unnatural-looking scene. Many modern video lights offer adjustable color temperature, and for fixed sources, gels (colored filters) can be used to shift the color temperature to match other light sources in the scene.
Finally, the intensity of light plays a significant role. The amount of light falling on your subject directly impacts the exposure of your shot. Too little light results in a dark, underexposed image, while too much light can lead to blown-out highlights where detail is lost. The intensity of a light source can be controlled through dimmers, by moving the light closer or further away from the subject, or by using scrims (mesh fabrics) to reduce the output.
Related articles 01:
1. https://kinemasterap.org/top-5-easiest-video-editing-apps-unleash-your-inner-filmmaker
2. https://kinemasterap.org/building-a-successful-and-engaging-youtube-channel-for-kids
3. https://kinemasterap.org/the-evolving-landscape-of-video-key-trends-shaping-2025
5. https://kinemasterap.org/the-reigning-titans-of-youtube-a-look-at-the-top-5-global-stars
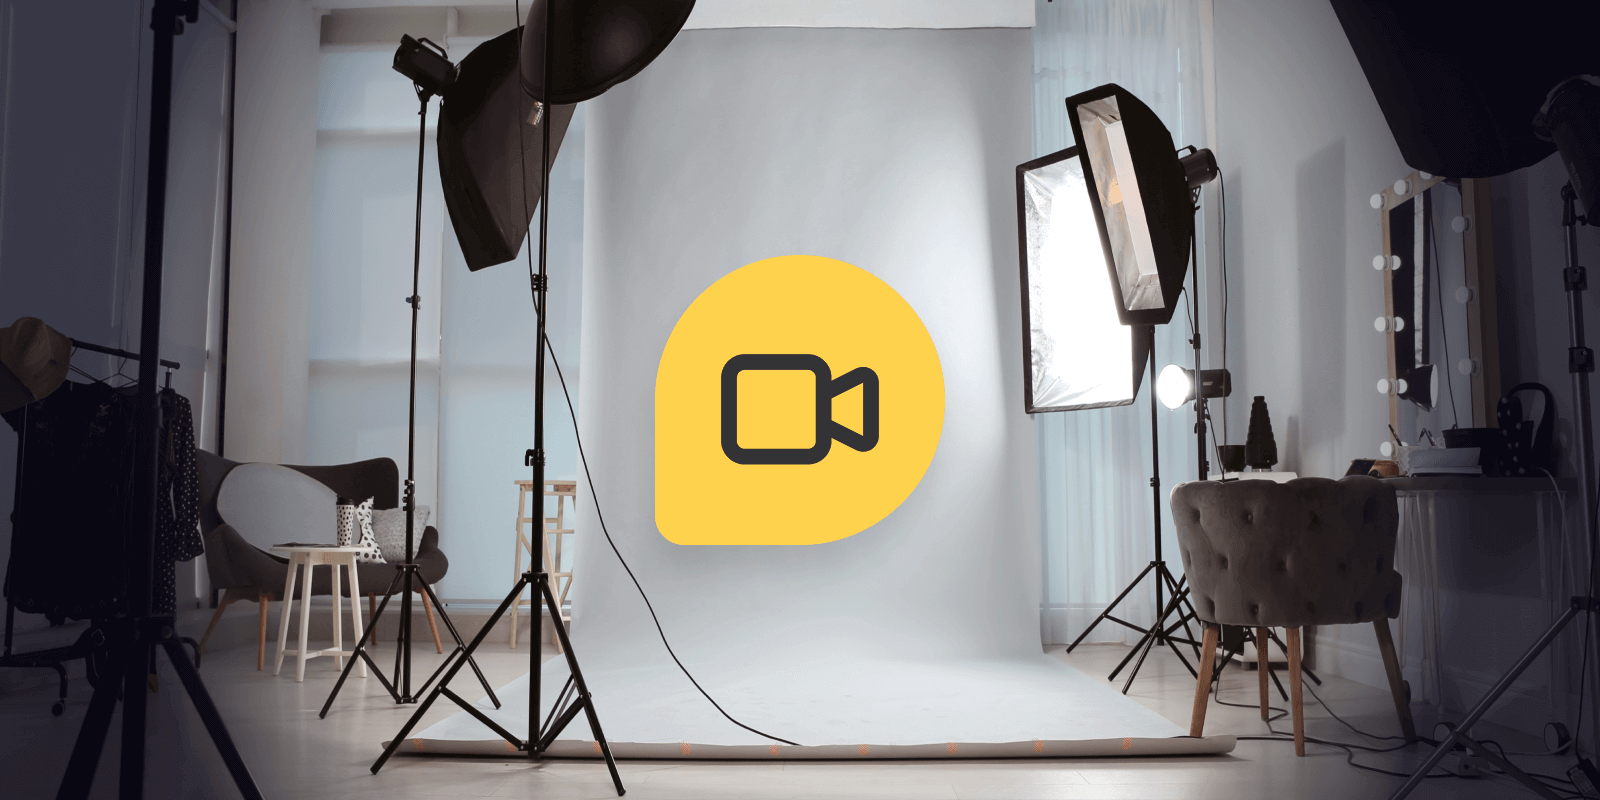
With a grasp of these fundamental properties, we can explore the various types of lights commonly used in video production. LED panels have become increasingly popular due to their energy efficiency, portability, and often, their ability to adjust both intensity and color temperature. They provide a relatively soft and even light source, making them versatile for various applications. Continuous lights, such as halogen or tungsten bulbs, offer powerful output and good color rendition, but they also generate a significant amount of heat and consume more power. Fluorescent lights are another option, known for their energy efficiency and soft light output, though the quality can vary, and some lower-end options might exhibit a slight color cast. Lastly, natural light can be a beautiful and readily available resource, but it’s also the least controllable. Understanding how to work with natural light, using reflectors to bounce it or diffusers to soften it, is a valuable skill.
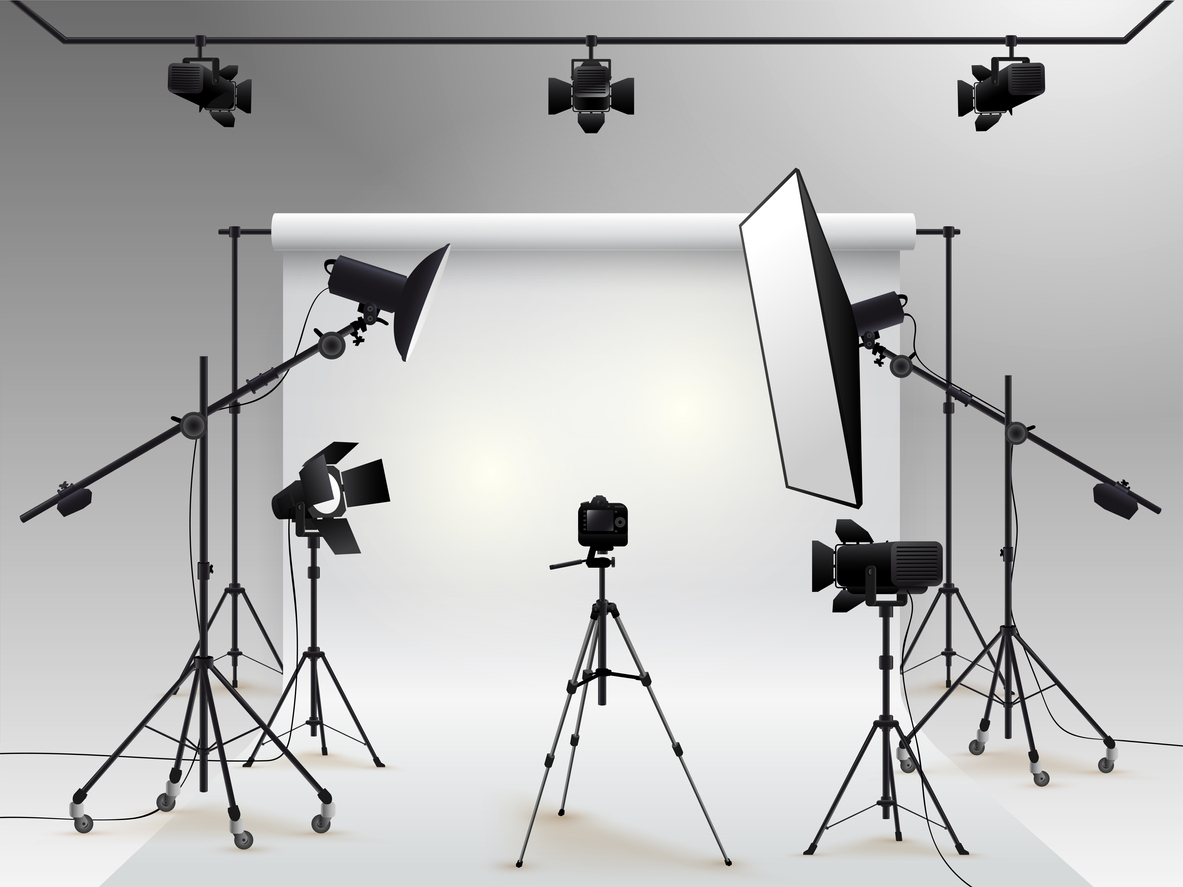
For achieving professional-looking results, several common lighting setups are frequently employed. The three-point lighting setup is a foundational technique, particularly for interviews and single-subject shots. It involves three key lights:
- Key Light: This is the main source of illumination, typically placed slightly to one side and above the subject, creating the primary highlights and shadows.
- Fill Light: Positioned on the opposite side of the key light, the fill light is less intense and serves to soften the shadows cast by the key light, adding depth and preventing the image from becoming too contrasty.
- Backlight (or Rim Light): Placed behind the subject and slightly above, the backlight separates the subject from the background, creating a subtle outline that adds dimension and visual interest.
Variations of the three-point lighting setup exist, and the specific placement and intensity of each light can be adjusted to achieve different moods and effects.
A simpler setup is two-point lighting, often used when a more dramatic or shadowy look is desired. This typically involves a key light and either a fill light or a backlight, but not both. For instance, a key light and a backlight can create a strong silhouette effect.

Related articles 02:
1. https://kinemasterap.org/the-reigning-titans-of-youtube-a-look-at-the-top-5-global-stars
2. https://kinemasterap.org/the-indispensable-role-of-context-in-effective-video-production
3. https://kinemasterap.org/the-evolving-landscape-of-video-key-trends-shaping-2025
4. https://kinemasterap.org/crafting-compelling-vlogs-from-short-video-clips-a-comprehensive-guide
In situations where resources are limited or a more naturalistic look is desired, a single light setup can be effective. The key here is to manipulate the single light source using diffusion, reflection, or strategic placement to achieve the desired outcome. Bouncing a single light off a white wall or ceiling can create a soft, ambient illumination.
Finally, practical lighting refers to the lights that are visible within the scene itself, such as lamps, overhead fixtures, or candles. These can be incorporated into your lighting design to add realism and visual interest, but it’s important to ensure they complement your main lighting setup and don’t create unwanted shadows or color casts.
To effectively set up your lights for a video clip, consider these practical tips:
- Start with the Key Light: Establish your main light source first and position it to best illuminate your subject’s face or the focal point of your scene.
- Control Shadows: Pay close attention to the shadows created by your key light and use a fill light or reflector to soften them as needed.
- Create Separation: Don’t underestimate the power of a backlight to make your subject pop out from the background.
- Consider the Background: Ensure your background is appropriately lit and doesn’t distract from your subject. Sometimes a separate light source aimed at the background can add depth.
- Use Diffusion and Reflection: Experiment with diffusing your light sources to create softer, more flattering light or using reflectors to bounce light into shadow areas.
- Experiment and Observe: The best way to learn is through experimentation. Observe how different lighting setups affect the look and feel of your footage. Pay attention to shadows, highlights, and overall exposure.
- Safety Precautions: Always handle lighting equipment with care. Ensure lights are securely mounted, avoid touching hot bulbs, and be mindful of power cords to prevent accidents.
In conclusion, mastering the art of lighting for video clips is an ongoing process of learning and experimentation. By understanding the fundamental properties of light, familiarizing yourself with different types of lights, and practicing common lighting setups, you can significantly enhance the visual quality and impact of your videos. Remember that effective lighting is not just about making your subject visible; it’s about shaping the mood, guiding the viewer’s eye, and ultimately, telling your story in the most compelling way possible. So, take the time to experiment, observe, and illuminate your vision with intention and creativity.