Creating a 3D Video: A Comprehensive Guide
3D video, with its immersive and captivating nature, has revolutionized the way we experience visual content. From blockbuster movies to engaging marketing campaigns, 3D videos offer a depth and realism that traditional 2D videos simply cannot match. If you’re looking to venture into the world of 3D video creation, this guide will provide you with a comprehensive roadmap, covering everything from fundamental concepts to advanced techniques.
Understanding the Basics of 3D Video
At its core, 3D video aims to replicate how our eyes perceive depth in the real world. This is achieved through a technique called stereoscopy, which presents slightly different images to each eye. Our brain then combines these two perspectives, creating the illusion of depth and three-dimensionality.
To understand 3D video creation, it’s crucial to grasp a few key concepts:
- Stereoscopy: The technique of creating or enhancing the illusion of depth in an image by means of stereopsis for binocular vision.
- Parallax: The apparent displacement of an object because of a change in the observer’s point of view. In 3D video, parallax is used to create the left-eye and right-eye images.
- Interaxial Separation: The distance between the lenses of a 3D camera or the virtual cameras in 3D software. This distance influences the perceived depth; wider separation generally leads to stronger 3D effect.
- Convergence: The point in space where the lines of sight from the left and right eyes meet. Adjusting convergence point can control where the 3D effect is most prominent.
There are various technologies for displaying 3D video, including:
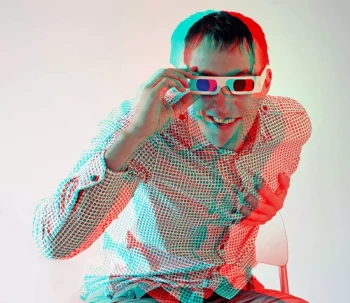
- Anaglyph 3D: Uses color filters (typically red and cyan) to separate the left and right eye images.
- Polarized 3D: Employs polarized lenses to filter light waves, directing different images to each eye.
- Active Shutter 3D: Uses LCD shutter glasses that rapidly alternate between blocking the left and right eye views in sync with the screen refresh rate.
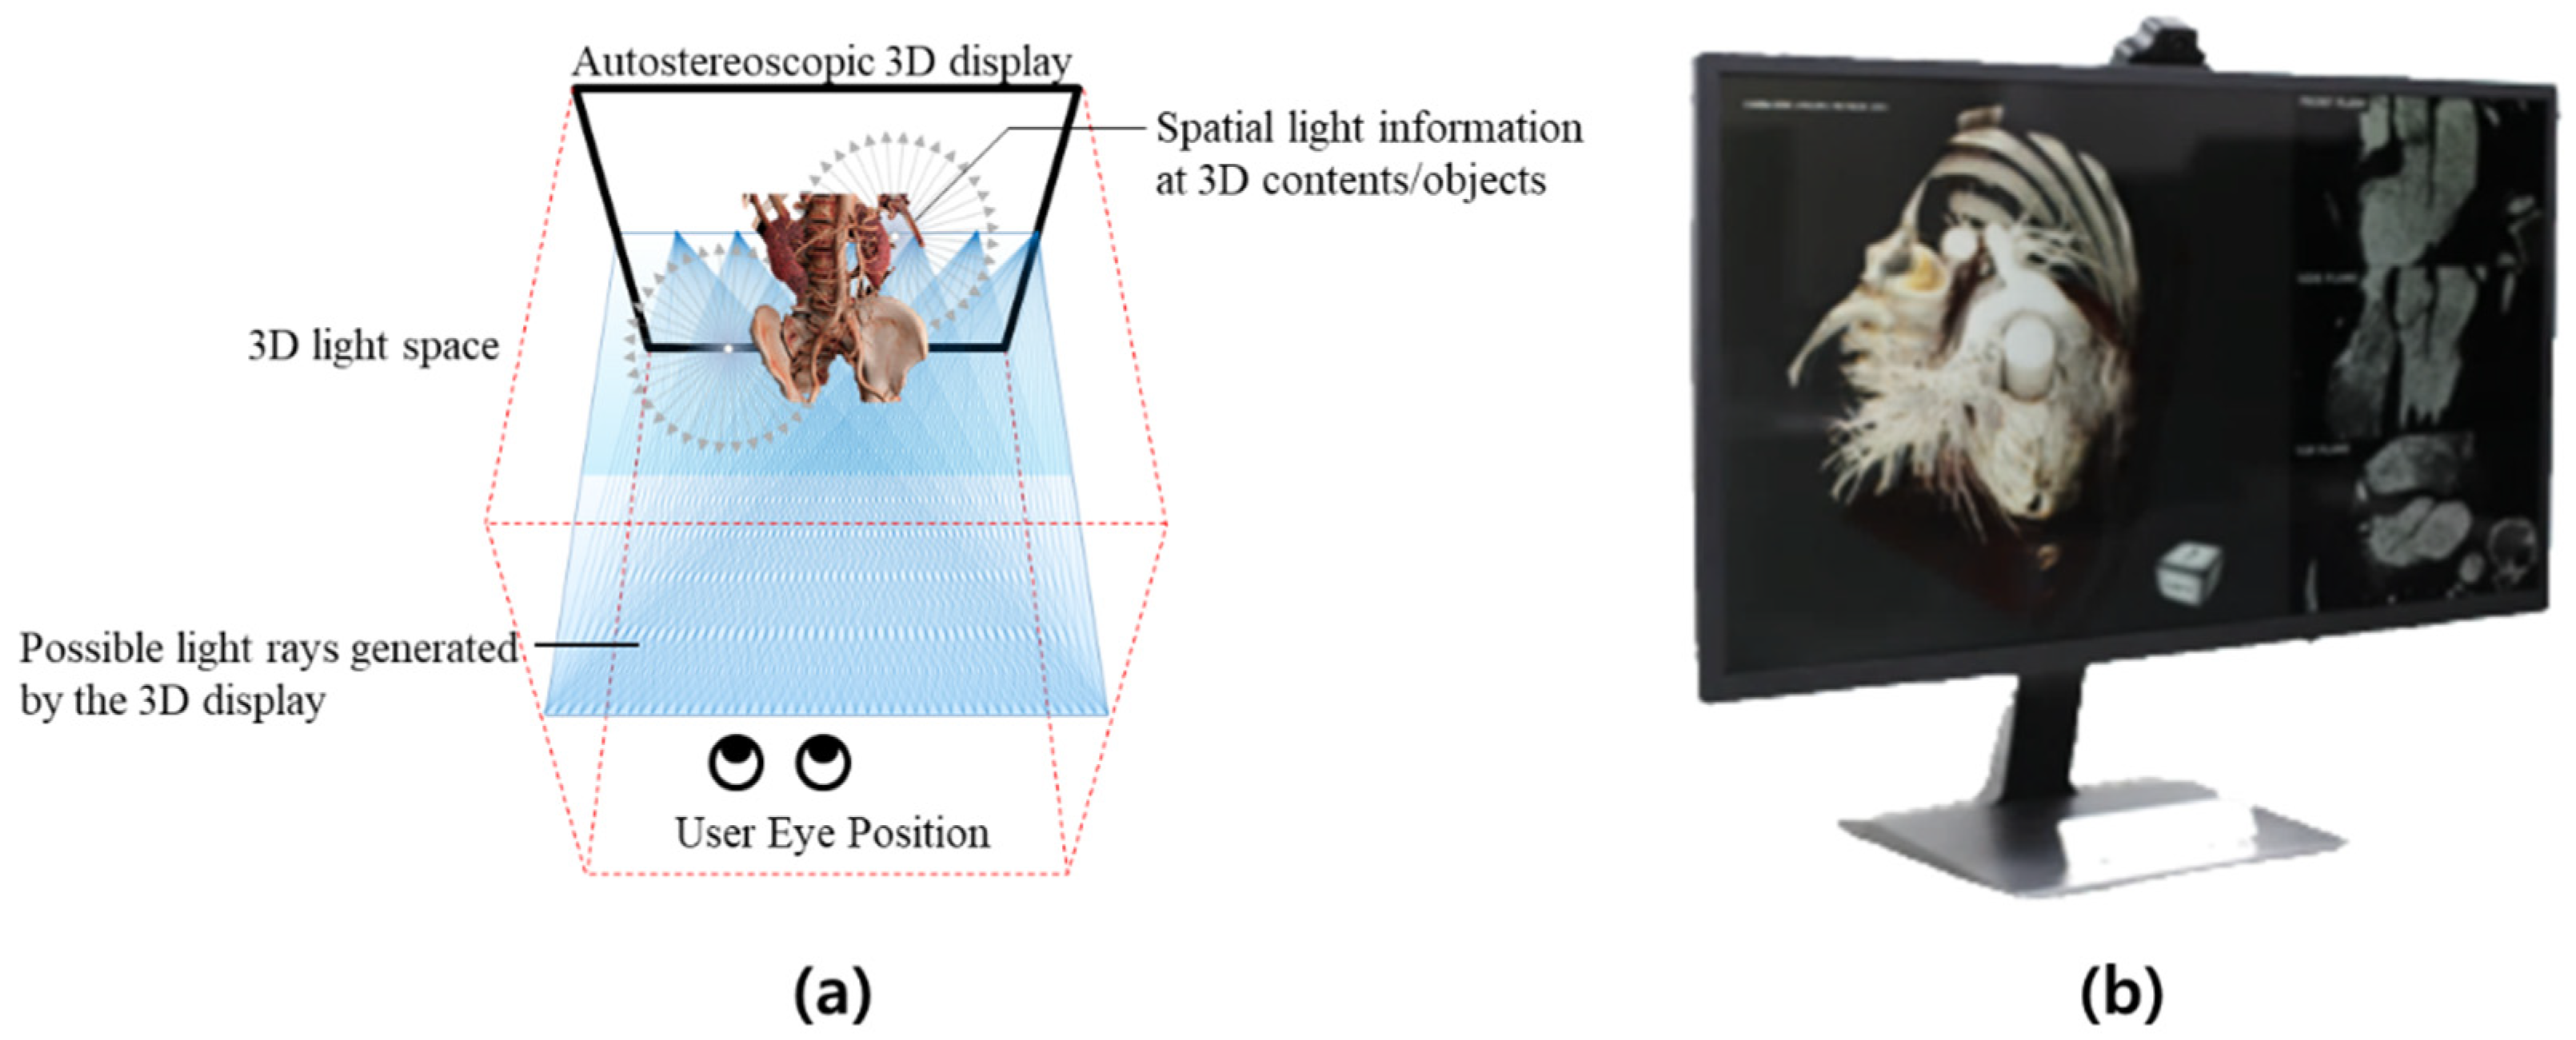
- Autostereoscopic 3D: Displays 3D images without the need for glasses, using technologies like lenticular lenses or parallax barriers.

Planning Your 3D Video Project: Pre-Production
Before diving into the technical aspects, meticulous planning is essential for a successful 3D video.
-
Concept and Storyboarding with 3D in Mind:
- Define Your Vision: What story do you want to tell? What message do you want to convey? Your concept should naturally lend itself to 3D.
- Storyboard with Depth: Unlike 2D storyboards, 3D storyboards should consider depth. Think about how elements in the scene will be positioned in 3D space. Consider drawing two versions of each panel, slightly shifted, to visualize the 3D effect.
- Camera Angles and 3D: Certain camera angles are more effective in 3D. Shots looking down hallways, diagonal lines, and scenes with foreground and background elements are great for showcasing depth. Avoid excessively fast camera movements, which can be disorienting in 3D.
-
Software and Hardware Selection:
-
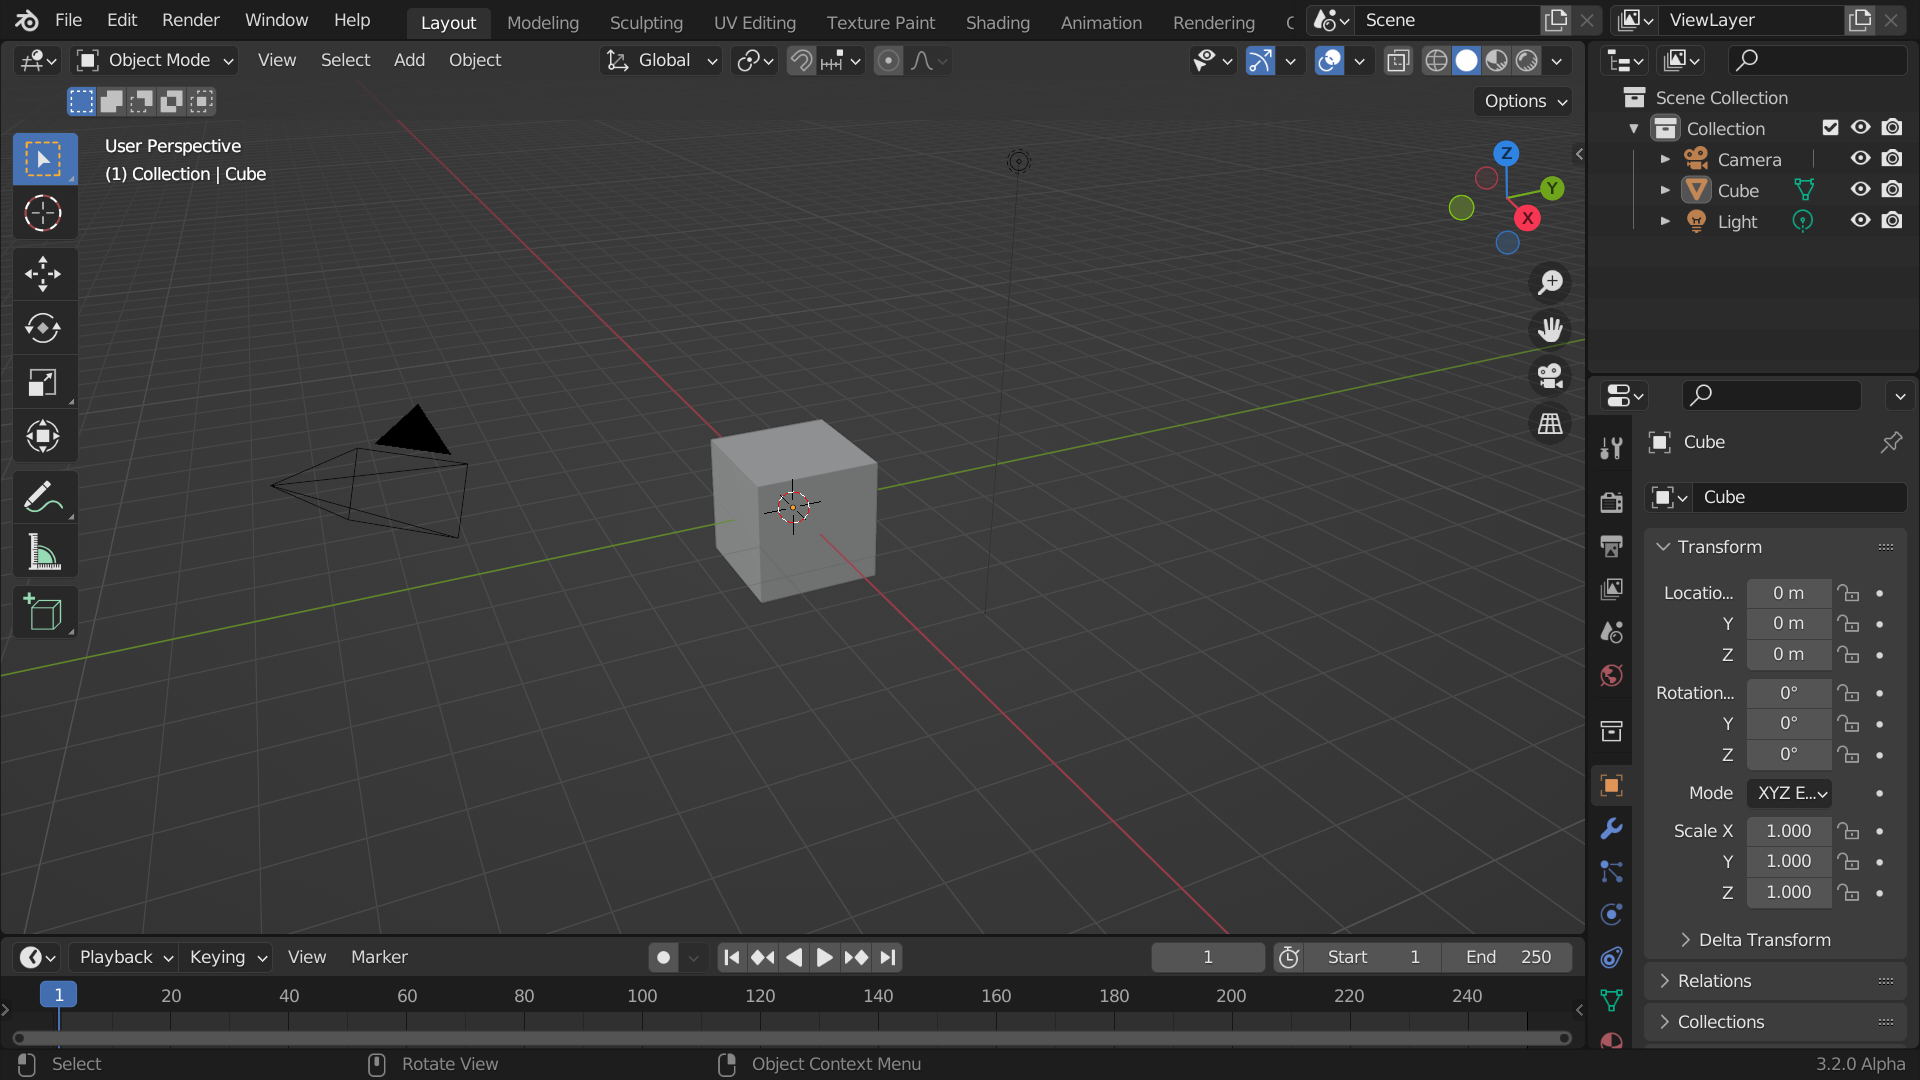
3D Software: Choose a 3D software package based on your needs and skill level. Popular options include:
- Blender: Free, open-source, and powerful, suitable for beginners to professionals.
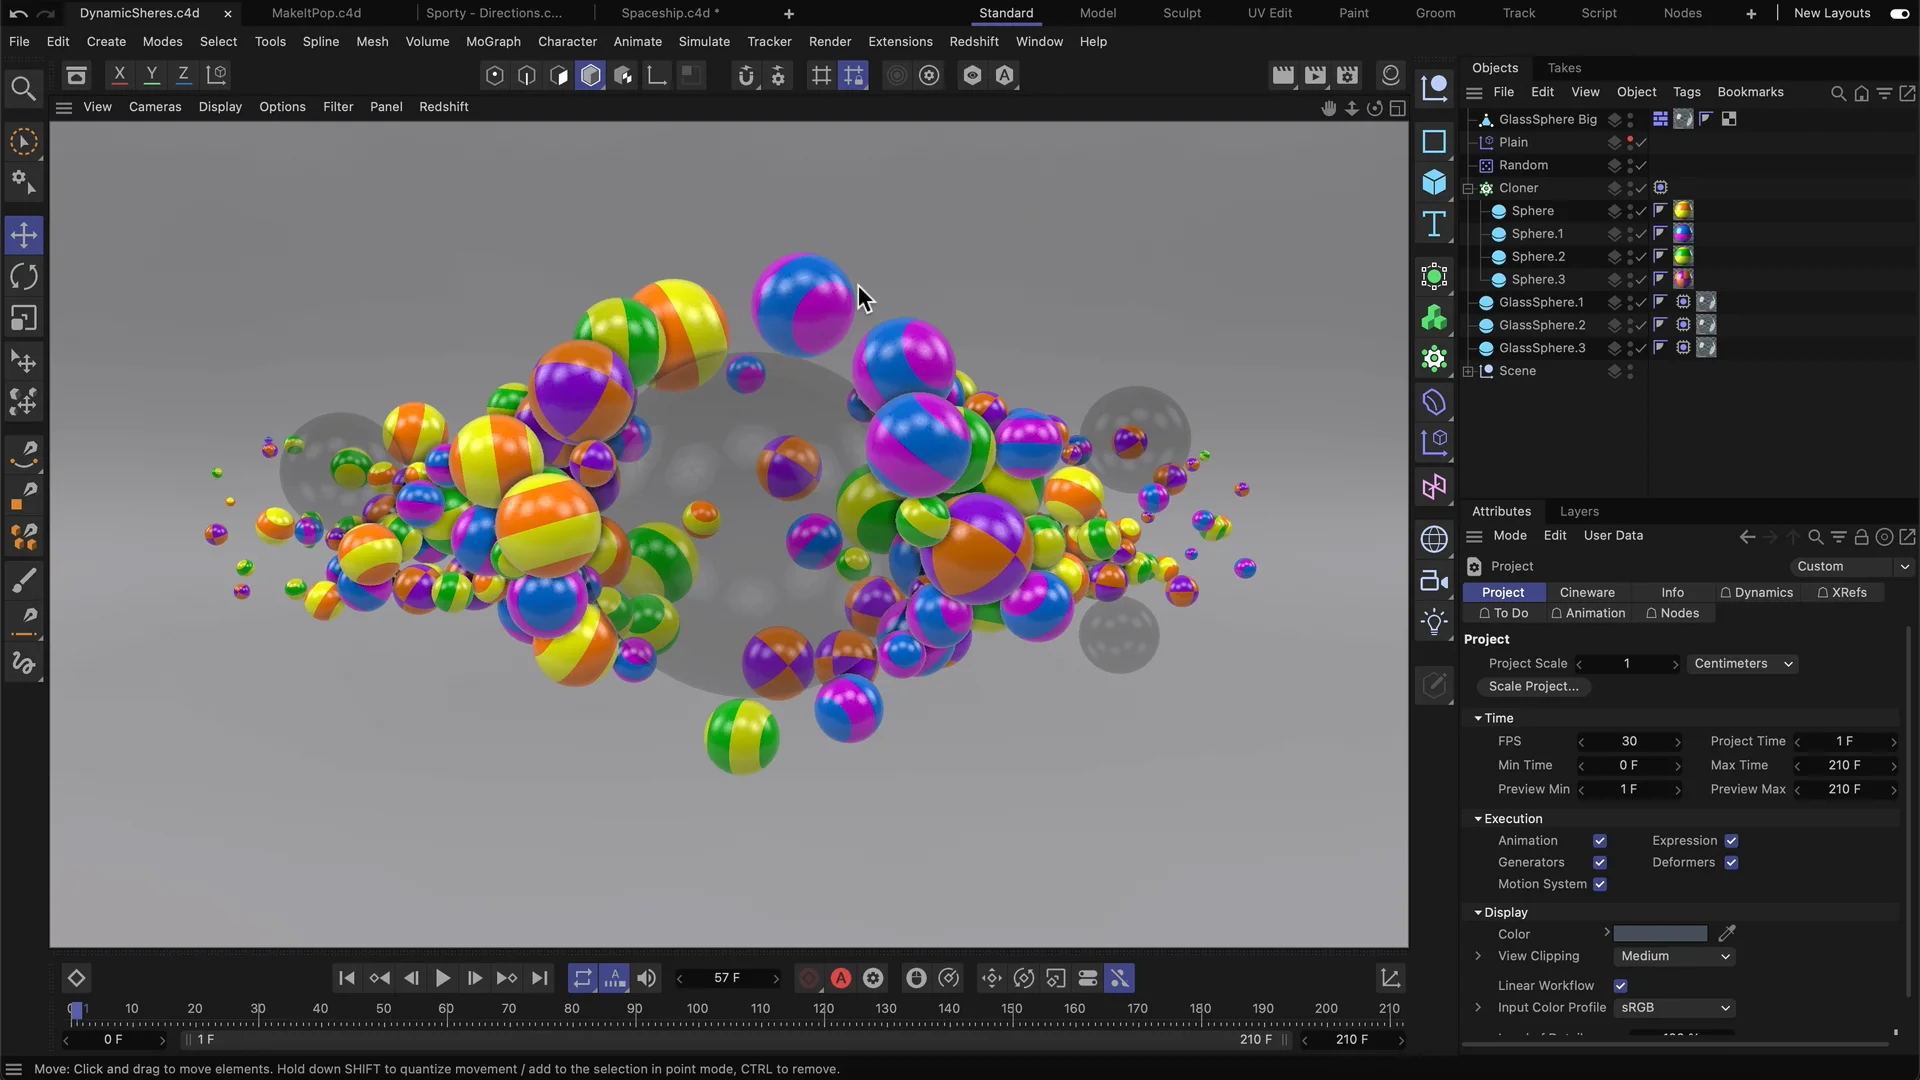
- Cinema 4D: User-friendly, excellent for motion graphics and animation.
- Autodesk Maya: Industry-standard, comprehensive features for animation, VFX, and more.
- 3ds Max: Another industry leader, strong in modeling and architectural visualization.
- Blender: Free, open-source, and powerful, suitable for beginners to professionals.
-
Hardware: You’ll need a computer powerful enough to handle 3D rendering. Consider:
- Powerful CPU and GPU: For fast rendering times.
- Ample RAM: To handle complex scenes.
- 3D Display (Optional): A 3D monitor or VR headset is useful for previewing your 3D video as you work.
-
-
Consider Your Target Audience and Platform:
- Where will your video be viewed? Will it be for VR headsets, 3D TVs, online platforms that support 3D?
- Target Display Technology: Knowing your target display (anaglyph, polarized, etc.) will influence your rendering and output settings. For example, if you are targeting older 3D TVs, anaglyph or side-by-side formats might be relevant. For modern VR, side-by-side is common.
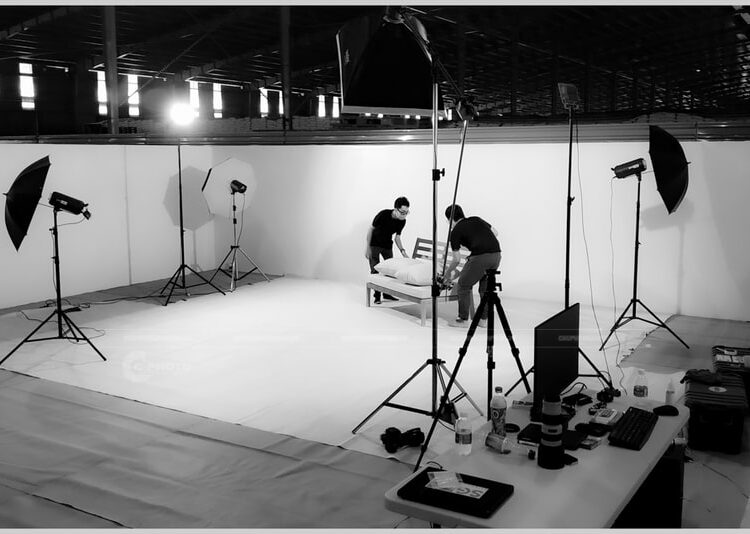
Production: Creating Your 3D Content
The production phase is where you bring your 3D vision to life. This involves either shooting with 3D cameras or creating content entirely in 3D software.
-
Filming 3D Footage (Stereoscopic Cinematography):
- 3D Camera Rigs: To shoot 3D video, you’ll typically use a specialized 3D camera rig. These rigs usually employ two cameras set side-by-side or using a beam splitter to capture the left and right eye views simultaneously.
- Interaxial Distance and Convergence: Carefully adjust the interaxial distance and convergence point based on the scene and desired 3D effect. Closer objects benefit from closer convergence, while wider interaxial can enhance depth for landscapes.
- Depth Budget: Be mindful of the “depth budget.” Excessive depth can cause eye strain. Control depth by strategically positioning objects and adjusting interaxial and convergence.
- Challenges of 3D Filming: 3D filming can be more complex than 2D. Issues like parallax errors (vertical misalignment between left and right eye images) need to be addressed in post-production.
- 3D Camera Rigs: To shoot 3D video, you’ll typically use a specialized 3D camera rig. These rigs usually employ two cameras set side-by-side or using a beam splitter to capture the left and right eye views simultaneously.
-
3D Modeling and Animation:
- Creating 3D Models: Use your chosen 3D software to model all the objects and environments in your scene. This involves polygon modeling, sculpting, or using pre-made assets.
- Texturing and Materials: Apply textures and materials to your 3D models to make them visually appealing and realistic.
- Lighting for 3D: Lighting is crucial in 3D to define shapes, create mood, and enhance depth perception. Experiment with different light types and shadows.
- Animation in 3D Space: Animate your models and camera within the 3D environment. Take advantage of the Z-axis (depth axis) to create dynamic and engaging 3D movement.
- Creating 3D Models: Use your chosen 3D software to model all the objects and environments in your scene. This involves polygon modeling, sculpting, or using pre-made assets.
-
Depth Management in 3D Content:
- Layering and Perspective: Arrange elements in layers, utilizing perspective to create a sense of depth. Objects further away should appear smaller and can be slightly desaturated or blurred (atmospheric perspective).
- Depth of Field: Use depth of field (blurring objects outside the focus plane) to guide the viewer’s eye and create a sense of depth.
- Negative Parallax and Positive Parallax: Understand negative parallax (objects appearing to be behind the screen) and positive parallax (objects seeming to pop out of the screen). Use them strategically but avoid excessive positive parallax which can be uncomfortable.

![What is 3D Modeling? [Beginners Guide] • 3D Studio](https://3dstudio.co/wp-content/uploads/2022/01/3d-modeling-process.jpg)


Post-Production: Editing and Rendering Your 3D Video
Related articles 02:
1. https://kinemasterap.org/building-a-successful-and-engaging-youtube-channel-for-kids
3. https://kinemasterap.org/the-evolving-landscape-of-youtube-shorts-key-trends-shaping-the-platform
4. https://kinemasterap.org/811-2
5. https://kinemasterap.org/the-reigning-titans-of-youtube-a-look-at-the-top-5-global-stars
Post-production is where you assemble your 3D video, refine the 3D effect, and prepare it for distribution.
-
3D Video Editing Software:
- Software Compatibility: Ensure your video editing software supports 3D editing. Many professional NLEs (Non-Linear Editors) like Adobe Premiere Pro, Final Cut Pro (with plugins), and DaVinci Resolve can handle 3D footage.
- Stereoscopic Editing Tools: Look for tools within your software for aligning left and right eye footage, adjusting convergence, and correcting stereoscopic issues.
-
Stereoscopic Alignment and Correction:
- Synchronization: Ensure the left and right eye footage are perfectly synchronized.
- Parallax Correction: Fix any vertical parallax errors that might have occurred during filming.
- Color Balancing: Match the color and exposure between the left and right eye views for a seamless 3D experience.
-
3D Effects and Depth Grading:
- Depth of Field in Post: You can further enhance depth of field in post-production.
- Atmospheric Perspective: Add subtle fog or haze to distant objects to enhance atmospheric perspective.
- Color Grading for 3D: Color grading can be used to subtly influence depth perception and create mood in your 3D video.
-
Audio for 3D Video:
- Spatial Audio: Consider using spatial audio (surround sound or binaural audio) to complement the 3D visuals and create a truly immersive experience.
-
Rendering and Outputting 3D Video:
- 3D Rendering Settings: When rendering your 3D animation, ensure you render for both the left and right eye views.
- 3D Video Formats: Choose the appropriate 3D video format based on your target platform. Common formats include:
- Side-by-Side: Left and right eye frames are placed next to each other in a single video frame.
- Over/Under (Top/Bottom): Left and right eye frames are stacked vertically.
- Anaglyph: Encoded for anaglyph glasses.
- Side-by-Side: Left and right eye frames are placed next to each other in a single video frame.
- Codecs and Compression: Select codecs (like H.264, H.265) and compression settings based on your desired quality and file size.
-
Testing and Reviewing in 3D:
- View on Target Devices: Test your 3D video on the intended viewing devices (3D TV, VR headset, etc.) to ensure the 3D effect is as desired and comfortable.
- Get Feedback: Show your 3D video to others and get feedback on the 3D depth, comfort, and overall viewing experience.


Tips and Best Practices for 3D Video Creation
- Start Simple: Begin with simpler 3D projects to grasp the fundamentals before tackling complex scenes.
- Depth Budgeting is Key: Always consider the depth budget to prevent eye strain and ensure a comfortable viewing experience.
- Experiment with Depth: Be creative with how you use depth to enhance storytelling and visual appeal.
- Story First, 3D Second: 3D should enhance your story, not be the sole focus. A compelling story is still paramount.
- Get Feedback and Iterate: Share your work and be open to feedback. 3D video creation is a skill that improves with practice and iteration.
Conclusion
Creating compelling 3D video involves a blend of technical understanding, artistic vision, and meticulous execution. From planning and pre-production to filming/creation and post-production, each stage requires careful consideration of the 3D aspect. By understanding the principles of stereoscopy, mastering your chosen 3D tools, and constantly experimenting, you can unlock the exciting potential of 3D video and create truly immersive and unforgettable visual experiences. The world of 3D video is constantly evolving, so stay curious, keep learning, and enjoy the journey of creating in three dimensions!